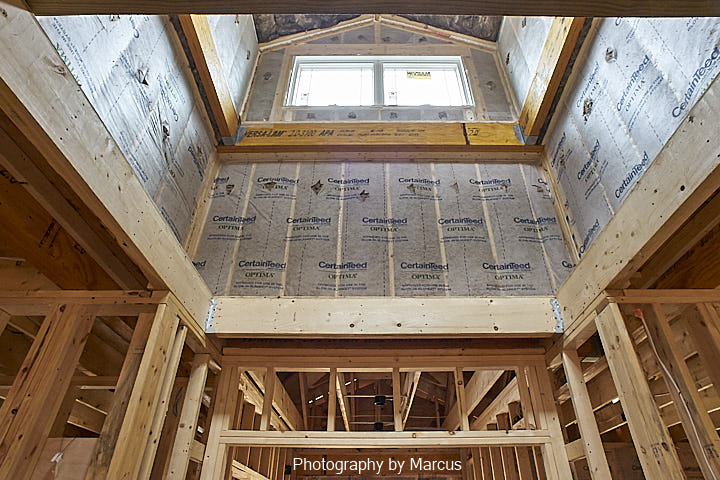
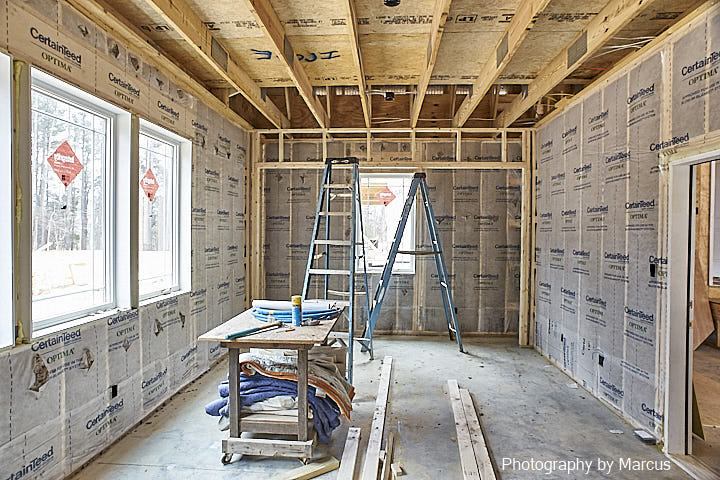
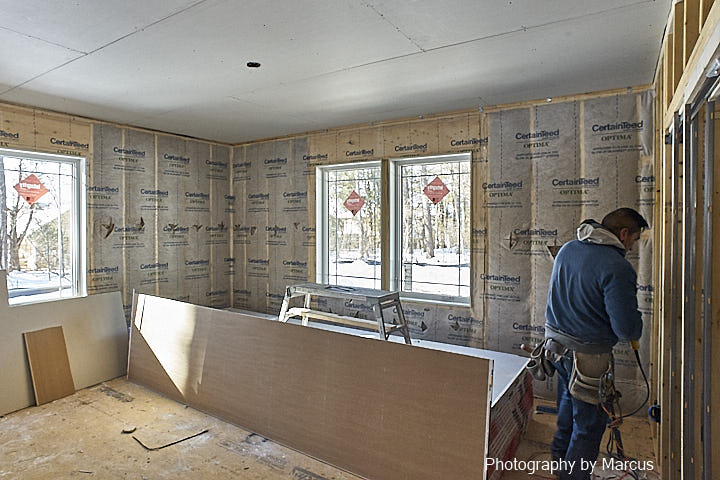
Insulation
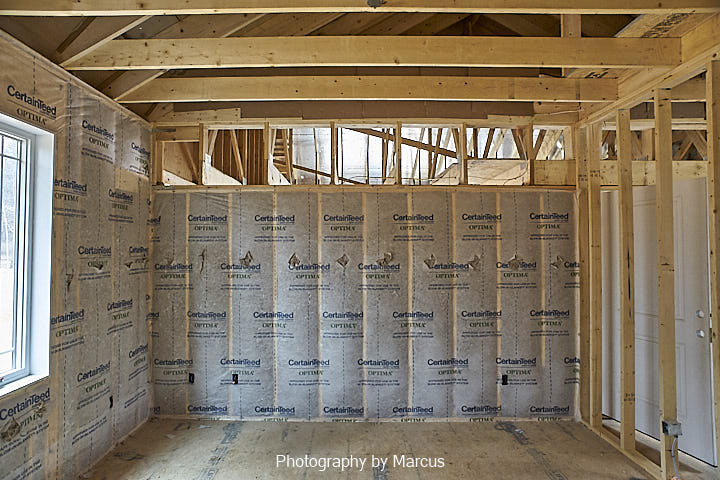
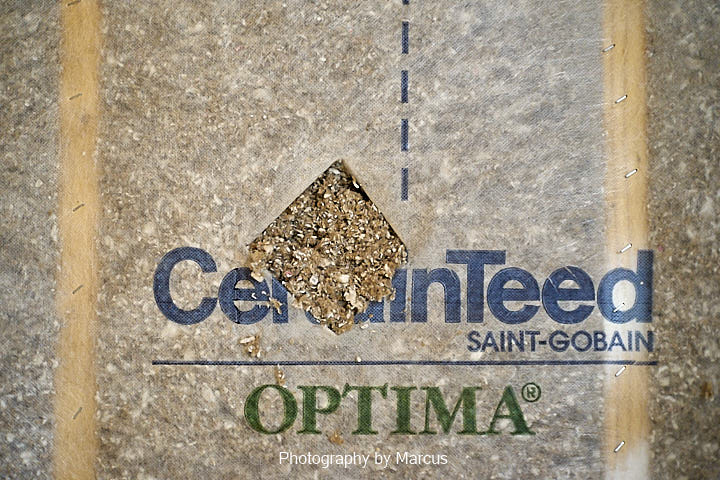
After considering the many available options, I decided to use dense-pack borate-treated cellulose to insulate my home. It’s a non-toxic, inexpensive recycled material that offers great sound-proofing. The borate compound functions as a flame-retardant and mold inhibitor. Cellulose serves to moderate humidity by absorbing or releasing moisture.
The installers first hang lightweight fabric over the stud bays. They then blow a measured amount of cellulose through small openings cut in the fabric. After the sheetrock goes up, they’ll come back to do the ceilings .
As a bonus for choosing cellulose, I was able to insulate my bathtub at a miniscule marginal cost.
Photos Taken January 4, 2018
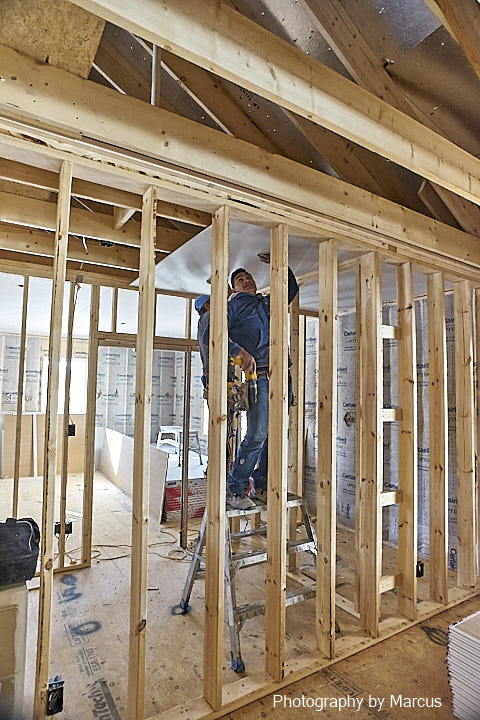
Sheetrock
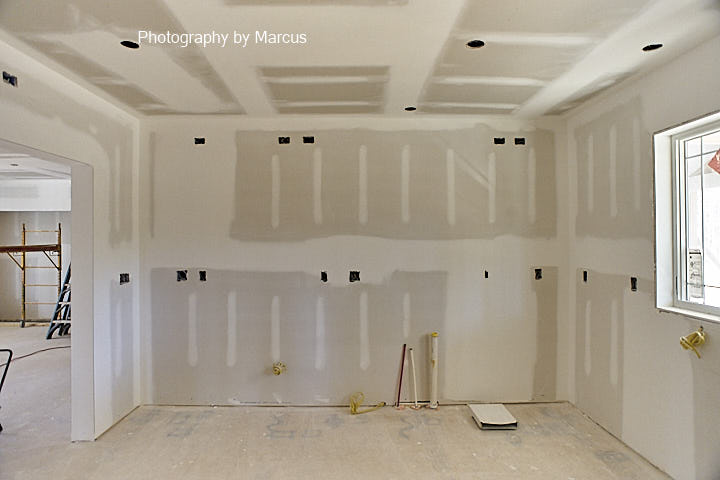
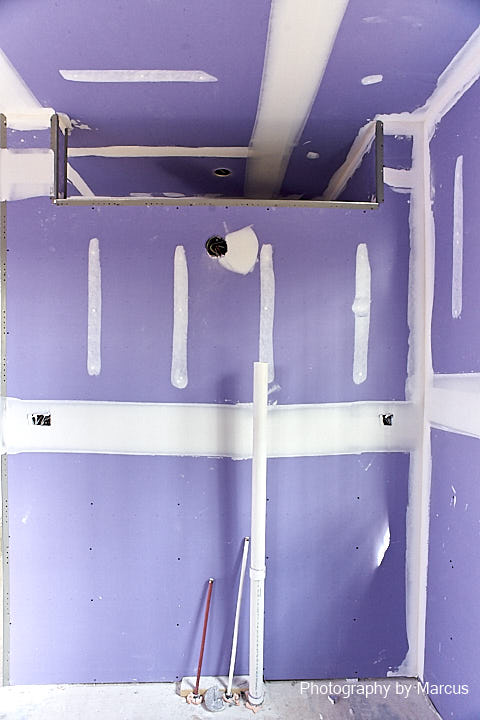
Once the wallboard is up, the interior really starts to look like the space it will become. I decided to use 5/8″ material on both walls and ceiling. The marginal cost over standard 1/2″ product was small. It will give all the walls a Vedic dimension using readily-available materials, add to sound-deadening, and make a more robust surface.
The installers were scheduled to begin work on January 15, but the material didn’t get delivered until the afternoon of the 16th. Then Triangle area activity paused for 6-12 inches of snow.
When I stopped by on Saturday morning the 20th, I found Rodrigo and company busy with front orch trim work. Inside, there were intimidating stacks of wallboard in every room. The sheetrock installers had just finished the master bedroom ceiling. I was glad to see them.
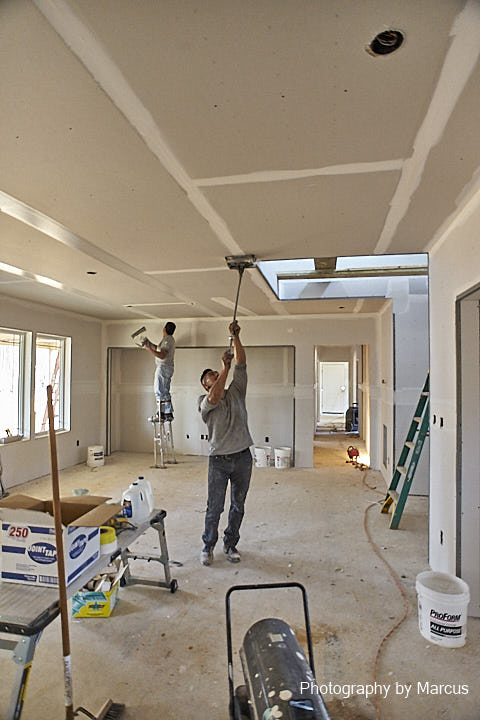
January 27, 2018
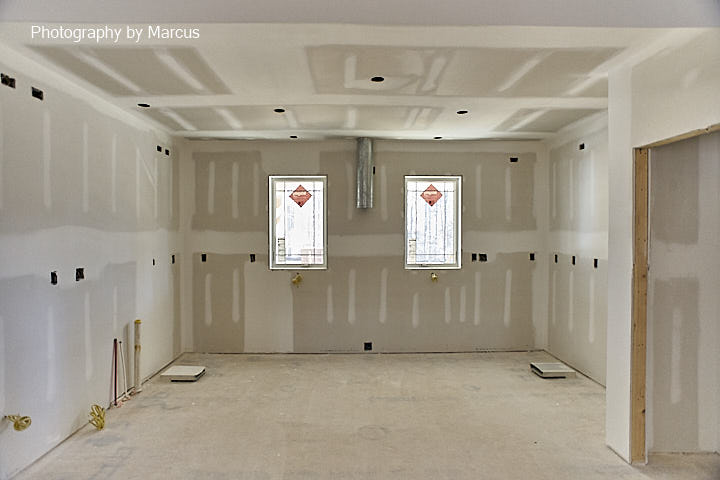
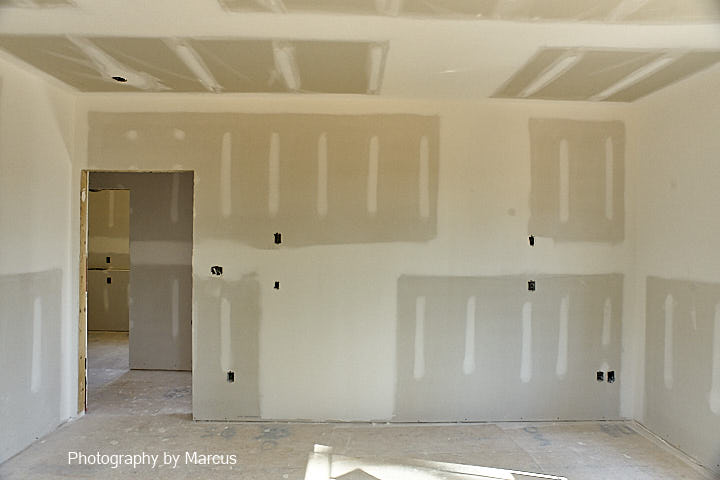
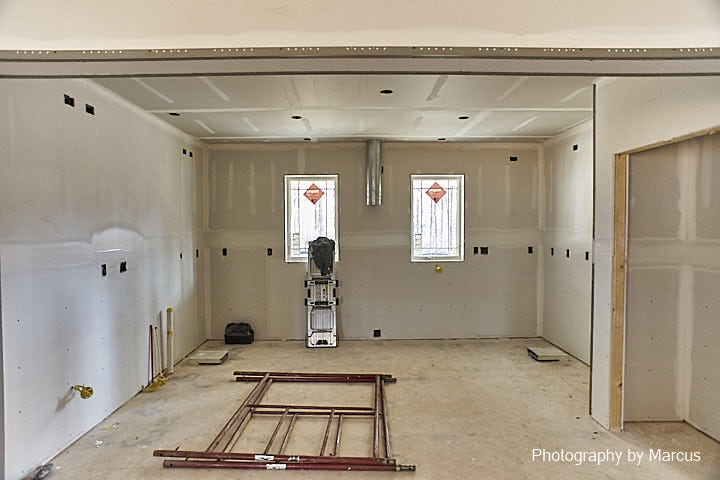
What an amazing transformation! While the framing certainly defines the interior spaces, the light readily penetrates so that they blend into one another. The opaqueness of the sheetrock makes for sharply-defined boundaries. Immediately, the rooms feel much smaller.
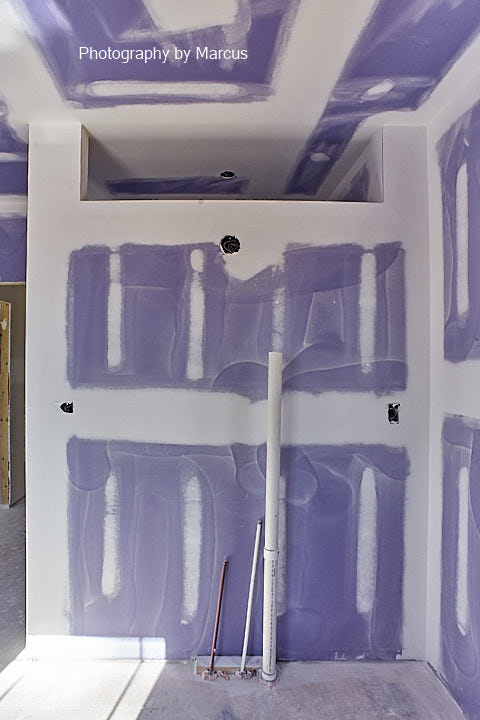
While taking photos, I managed to back against wet joint compound. I had to admit my foolishness so the installers could do touch-up before it dried. You can appreciate from this photo that having the right tools for the job, greatly simplifies the work. Here they are operating as a team. One applies a substantial layer of compound over the ceiling joints using a contraption that looks a bit like an old-fashioned carpet sweeper. His companion on stilts follows behind with a large joint knife to spread it smooth and wide.


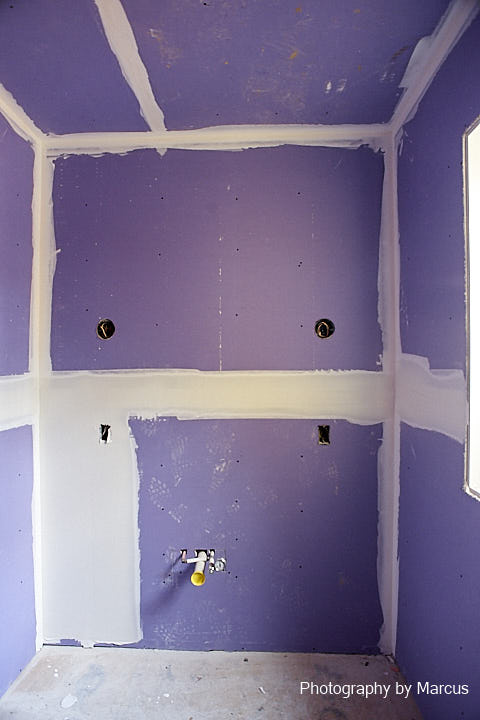

Master Bath Design
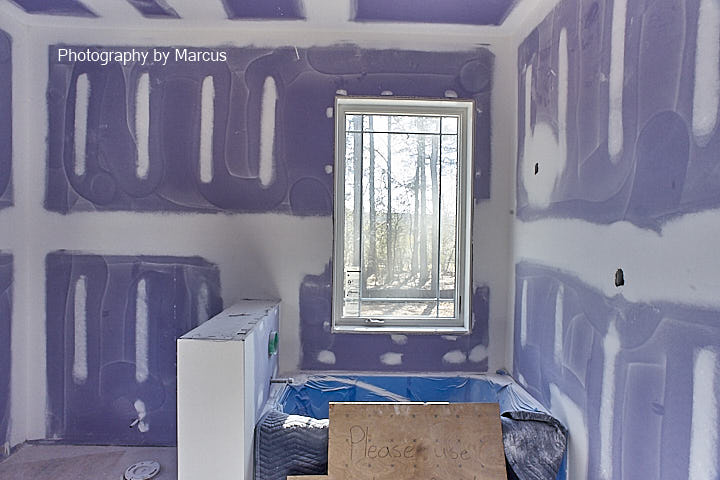
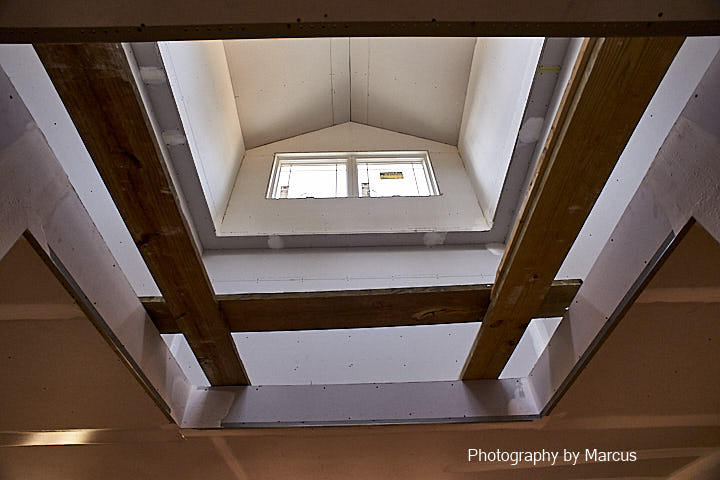
In this photo of the master bath, you can see the high opening between the vanity wall and the shower space behind. I’m really glad I thought to include this feature in the original design. It successfully connects the two spaces and brings some natural light into the shower. It should also help steam escape towards the exhaust fan. To find out how well, I’m afraid I still have to wait a while.
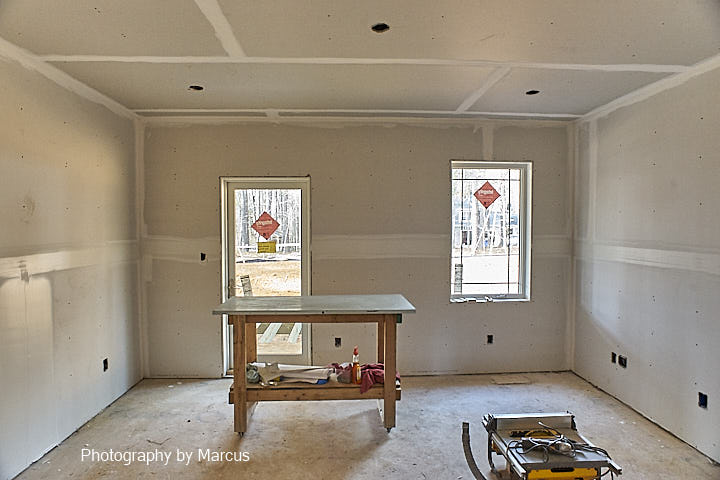
Photographs from February 3, 2018
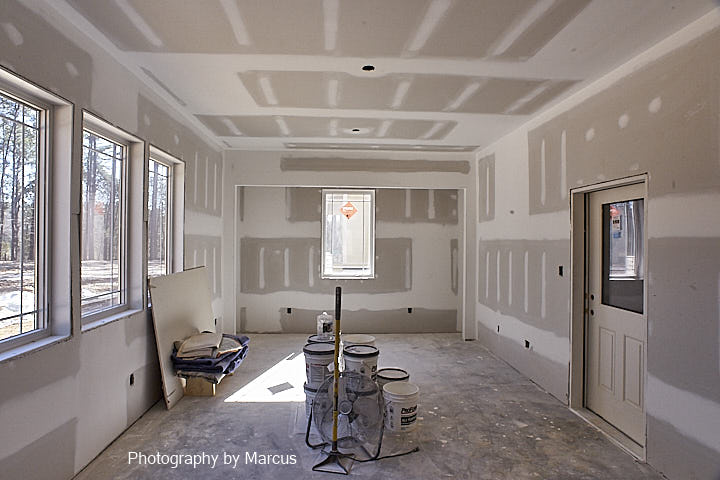
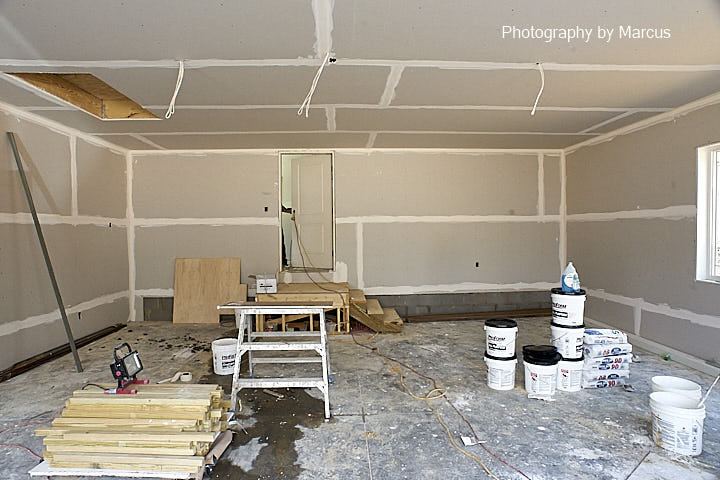
Aside from the residual dust, the walls and ceilings are now paint-ready. The framed opening at the south end of the workshop gives a Vedic dimension to the space.