Nothing Beats Granite?
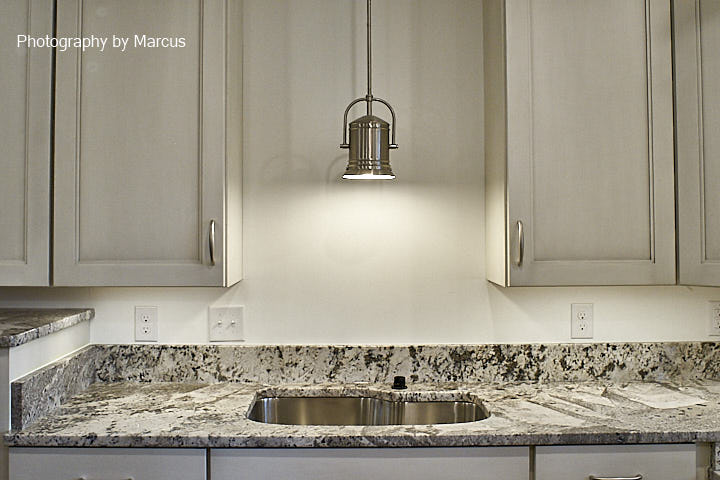
I’ve cooked in all kinds of kitchens and lived in houses with the full gamut of countertops. In my opinion, nothing beats solid granite. It’s beautiful and almost indestructible. You can get terrific value from the investment if you stick with lower price stones. Compared to that, granite tile is nearly as expensive. The grout lines are annoying even if the installer is able to keep the tiles perfectly level (a dicey proposition). I’ve been there and would never consider it again.
Initially, I wasn’t much concerned with the specific stone other than wanting it to be relatively light colored. If you’ve ever gone granite shopping, you know the low price stones tend to be quite uniform in appearance. The more expensive options have more character, but also may vary more widely from slab to slab.
Finding the Right Stone Variety
Vernon uses Vose for countertop fabrication. They in turn prefer to source material from Cosmos in Raleigh. On my first trip to Cosmos with Vernon before ground-breaking in 2015, we only found two options that seemed to fit with my concept: Santa Cecelia Light, a common uniform and affordable stone; and White Fantasy, the next level up. I discovered that each “level” or grade of stone encompasses a broad range. It turned out that White Fantasy was double the cost. What is more, they only had 3 slabs left. At that point, the cabinet design was just starting and we had little idea how much stone we would ultimately need. Even if I had been convinced that it was worth the price, I wasn’t prepared to reserve a couple of slabs that I might not use.
That turned out to be a good decision. When I returned to Cosmos last fall with my good friend Marlene, we found half a dozen stones that I liked. They were only marginally more expensive than Santa Cecelia Light. The additional cost for granite backsplashes also proved small. Although I toyed with doing tile backsplashes, I preferred the simplicity of granite. The cost advantage made the decision easy.
Choosing Specific Slabs
Vernon and I went back to Cosmos on February 26. When I called ahead to check on stock, I learned that my first choice for the kitchen was apparently no longer in the viewing area. It turned out that Vose had put a hold on slabs for all the countertops. Unfortunately, they were scattered around the facility. Some were outside, some were inside. We needed them to be pulled out for viewing with the overhead cranes, one of which was being repaired. So it ended up taking a few hours.
It turned out that the material that had been set aside was very good. I learned that it’s standard practice to identify the slabs in the order they are cut. Slabs with adjacent numbers will look much the same. We also discovered that a “hold” applies only to a specified number of slabs from the chosen lot. Until they are “hand selected” switches could occur.
Laying out the Stone Cutting Patterns
We met at the property with David from Vose on February 22 to review the templates for the countertops. It was a valuable exercise. It helped him assure the templates accurately reflected my intended design. In the process, we identified an issue with the support panels in the laundry room that required a minor adjustment. Ashley was able to take care of it immediately.
On March 7, Vernon and I visited the Vose fabrication warehouse to review their plans for cutting the slabs. While they had reserved 3 slabs for the kitchen, only 2 came to the warehouse. Their designer had digitized the slabs and cutting templates using CAD software. He found that the third slab was not needed and cancelled the order.
When we looked over the slabs, they pointed out the fissures they had identified and marked with tape. They routinely detect these natural defects by touch alone. Fissures are not a problem, except if they fall near an edge, the stone would be prone to fracturing there. So they limit how the pieces can be laid out.
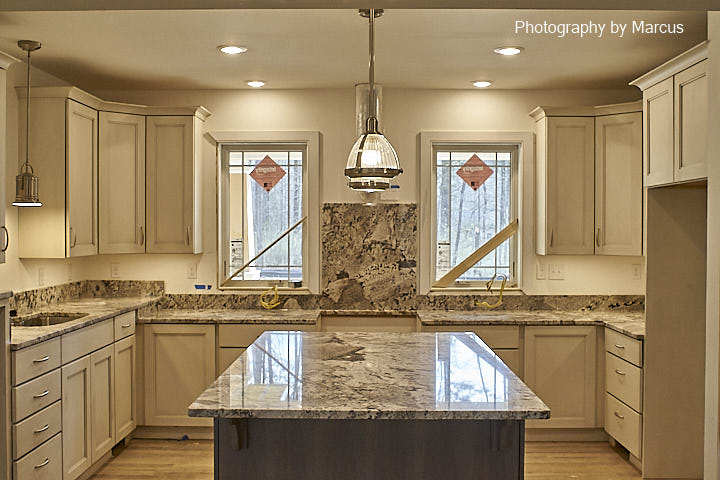
The cutting plan they’d developed was good overall. The fissures prevented us from making a few changes I might have liked. Fortunately, they weren’t critical. For example, the planned cut for the kitchen island included a darker area that would have looked best if placed near the center. Because of the fissure, the area fell nearer one corner. I decided to rotate the piece so that the area would face the kitchen sink rather than the living room.
On the other hand, I was able to get them to relocate the cut for the piece that will fill the space behind the range up to the hood to a more pleasing configuration. They also virtually assembled the adjacent backsplash pieces so we could tweak their layout. We then rotated the one on the left 180° to be in harmony. With the software, it was quick and easy.
Installation
I can say all that effort was worth it. I was at the house on Friday, March 16 while the installers were busy at work.
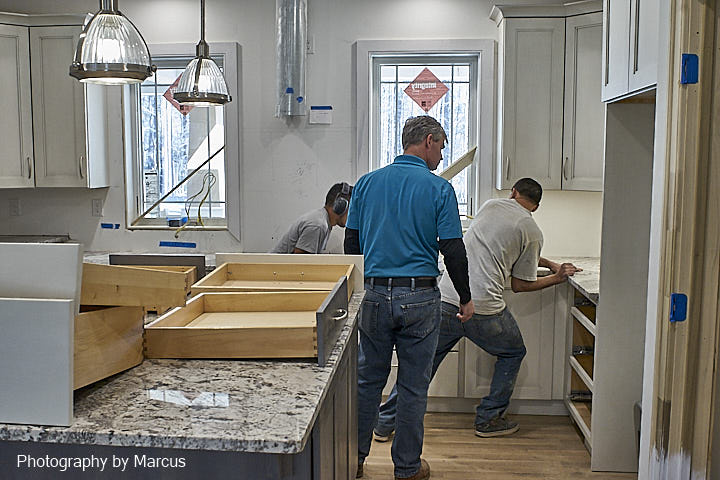
Most of that work was straightforward. We agonized a bit over the area behind the range. Vernon had made a couple of trips to Kitchen & Bath Galleries‘ warehouse to inspect the range in a diligent effort to avoid mistakes. Even so, based on the installation manual and my prior experience with a slide-in range for which a gap was left in the back, I disagreed with his conclusion that only a narrow strip would suffice. We agreed that it would be easy to trim the insert if it was to wide, but would face a serious problem if it was too small. So we followed the manual specifications and left a 30″ wide and 23 3/16″ deep opening.