All that beautiful trim work would not be complete without paint and finish hardware.
Paint
From my side, paint meant serious decisions about color. I’d always planned on doing white trim both inside and out. Simple, if conventional. I’d been through Sherwin-Williams’ COLOR selection tool more than a few times staring with the process for picking exterior paint. That narrowed the options. So once the countertops were installed, the decision wasn’t difficult.
I was chiefly concerned with the emotional impact of my color choice in the main living areas. I wanted the house to give visitors a warm, soothing feeling. Although “heavenly pastels” might be the Vāstu ideal, such a pallet would neither be masculine nor contemporary. My target was a light tone in the Fundamentally Neutral section of the Sherwin-Williams tool. That still left 40 tabs of color families.
I’d already conceded that the choices for tile, cabinets and countertops might drive a relatively cool color selection in the bathrooms. When Vernon and I reviewed the options for how and where paint colors could be differentiated, we realized that the kitchen would have to be the same as the family-living area.
Thus, the primary paint decision boiled down to finding a warm color to harmonize with the kitchen cabinets and countertop. As for the exterior paint decision, it helped to have test panels painted with the color selection finalists. It only took one look for us to come to consensus about the kitchen. Then we walked the panels around the house to verify that color would work in the other spaces with their variations in lighting.
Sheen
Beyond color, I also needed to think about sheen. Although gloss paint is the most durable and washable, it glares and accentuates brush marks. Vernon endorsed my suggestion to go with a flat finish on the walls. It’s hard to live in a home for any length of time without getting marks on the walls. I’ve found that easiest to get a good result when touching up a flat paint. Moreover, a flat finish gives a pleasing backdrop for art, even if it doesn’t have the richness of an eggshell or satin.
I was thinking of trying a satin finish on the woodwork, but Vernon recommended semi-gloss since it’s durable and the sheen diminishes with time. He finds that satin doesn’t wear as well on woodwork and tends to look shabby as it ages.
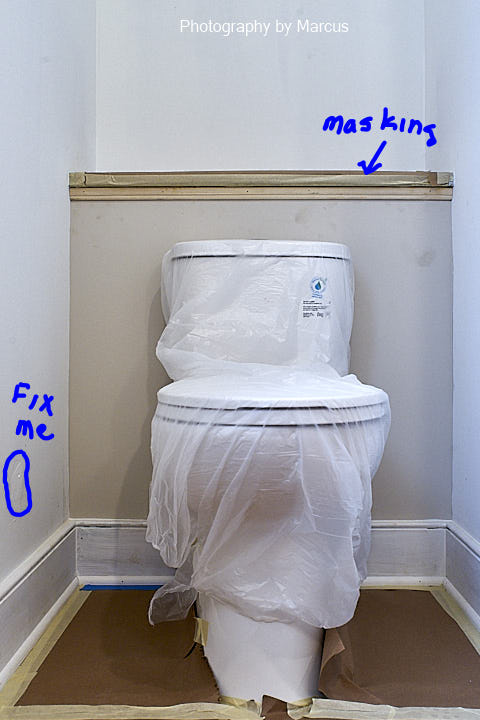
Here’s a peak at the bathroom color, Accessible Beige, which Vernon painted behind the toilets prior to their installation. In the kitchen and elsewhere I’m using Wool Skein.
Painters Do the Fine Finish Work
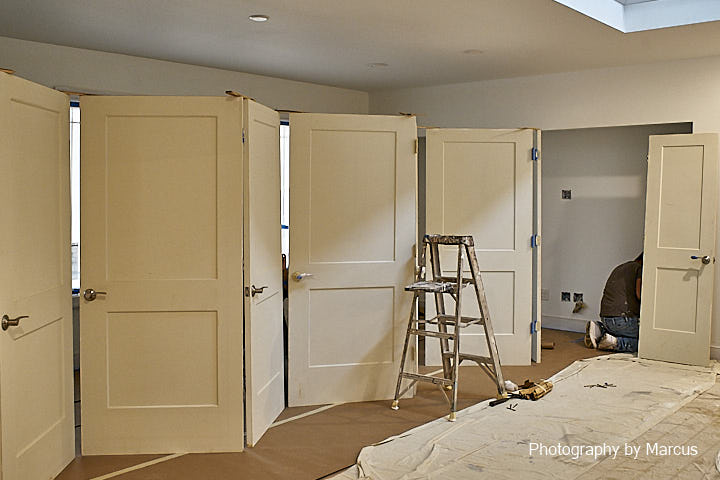

Much of the painter’s work consists of surface protection and preparation. As you can see from the above photo, they’ve covered the toilet with plastic and the tile with canvas. They haven’t yet fixed the wallboard screw pop visible lower left, but they’ve primed walls and baseboard. The painting itself goes fairly quickly. Mario has long been one of Vernon’s most trusted sub-contractors. He has only a few people helping him at any time. It took only a week to complete the interior walls and woodwork.

Exterior Painting
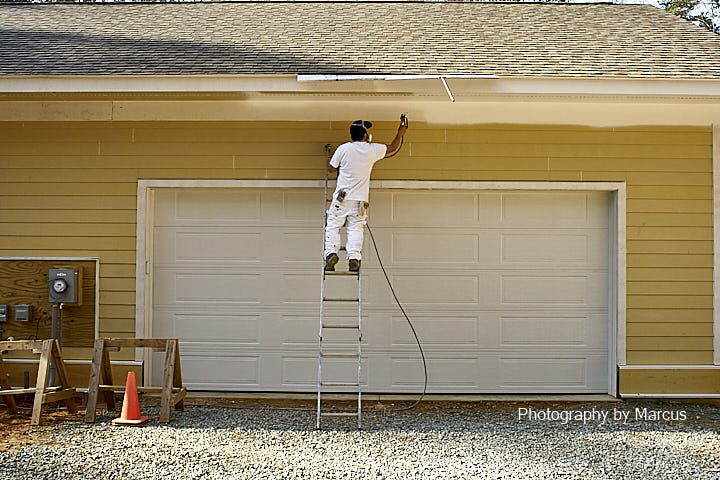
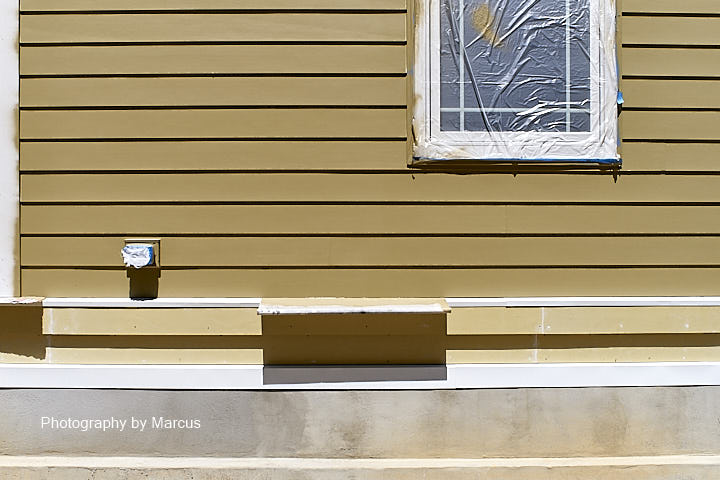
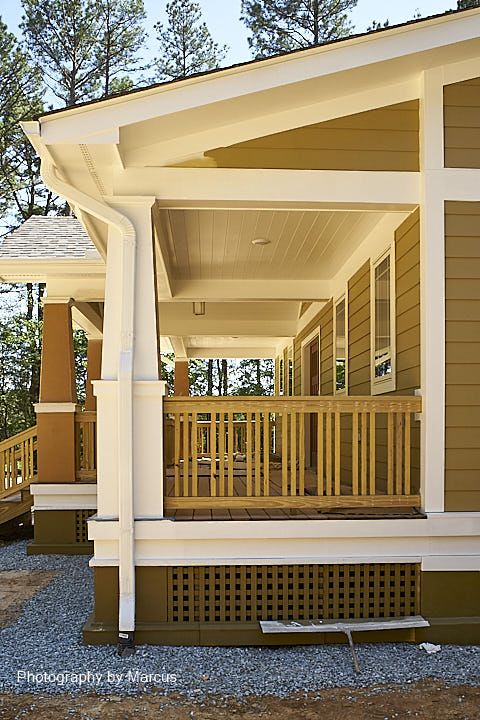
Exterior painting is somewhat more complicated because of weather and site factors. Mario was not able to get started with the exterior work until April 13. Vernon had to have the house lightly power-washed to get off the mud and pine pollen. Many months ago in the process of selecting roof shingles, I settled on Burlap for the siding after Ecru and Harmonic Tan seemed too washed-out when scaled up to test panel size. I still had to consider the plinth and exposed foundation. With Vernon’s guidance, I stuck with white for the plinth down to the lower flashing and chose Mossy Gold (2 shades darker than Burlap) for the foundation masonry and porch lattice.
Vernon had the gutters installed on April 23 after the roof fascia was painted.

Finish Hardware
With my last two major home remodeling projects, I gained a lot of experience with door knobs. I learned how to rejuvenate brass knobs that had been abused by poor painting technique. I also learned to love levers for ease of use.
Here I had a blank slate, so it was going to be levers from the start. Nothing fancy. Something comfortable in the hand. Although I considered other manufacturer’s products, I was happy with the Schlage hardware we used before and was clearly biased towards them. I settled on the Merano. I might have like a plainer escutcheon, but this was adequately contemporary for me.

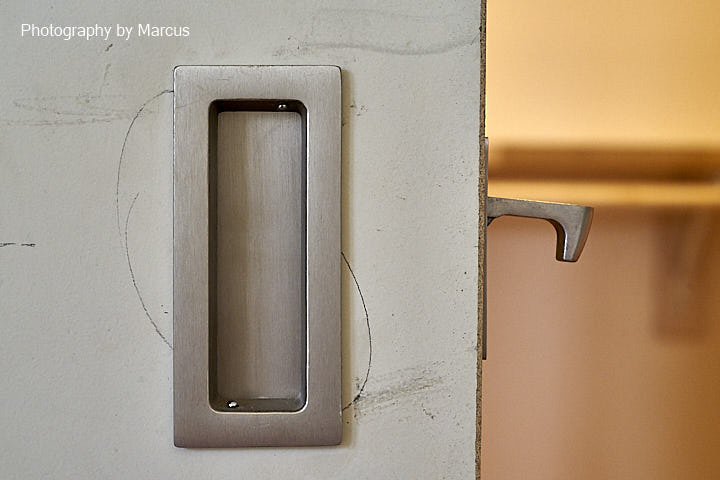
Pocket and Sliding Doors
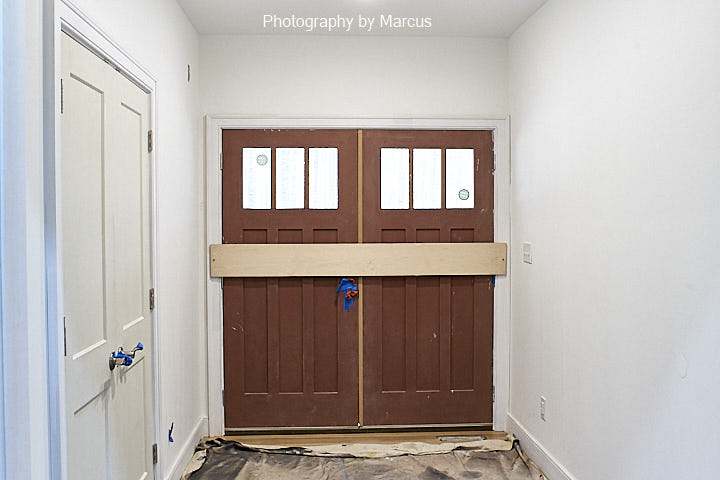
The mudroom closet was a challenge. The construction drawings specified conventional double doors to cover the 6′ opening. All along I was concerned about how those doors might restrict furniture placement on the east wall. I don’t know why I resisted the idea of sliding panel doors, which was the obvious solution. It may have been that I lived with a lousy pair of these for many years in Connecticut.
Anyhow, I had a set of bi-fold doors in my own planning drawings. Vernon wasn’t keen on the idea because of the low quality of what is generally available. When he ordered doors for the house, he went with Henry’s drawings. In retrospect, I’m glad he did. I was unable to locate a pair of bi-fold doors big enough to span the rough opening. We solved the problem by converting the double doors to a sliding panel set.
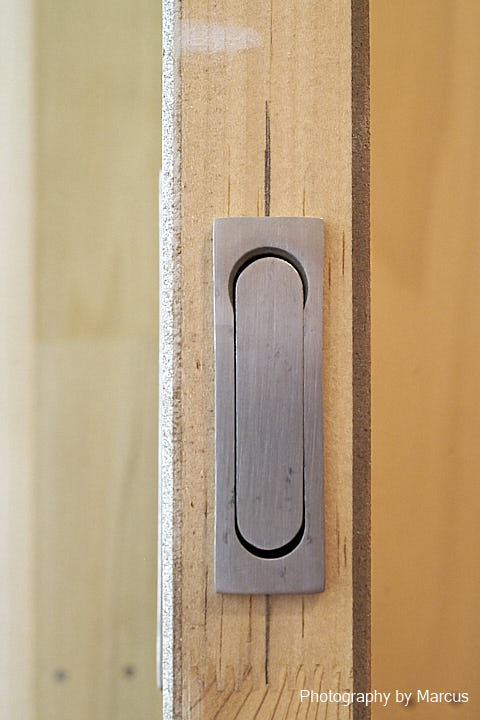
Vernon got top shelf hardware for the sliding mechanism. I searched online for the door pulls. It was worth the effort. I found a sleek pull on Build.com. I was even happier with the pocket door edge pull when I first tested it: very solid and comfortable to use. When you touch the top, it pivots out. Vernon uses clear silicone bumpers on the top and bottom of the door edge to cushion the contact and prevent marring of the door jamb.
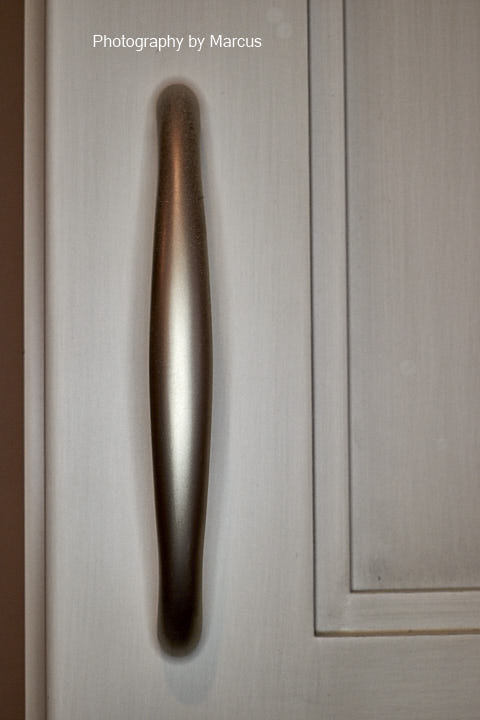
Cabinet Hardware
For cabinets, I wanted simple comfortable pulls. Amy had a nice selection from which to choose and I revisited my choice several times. I finally settled on this one from Hafele. I liked it so well for both doors and drawers that I didn’t consider to combine it with a knob.
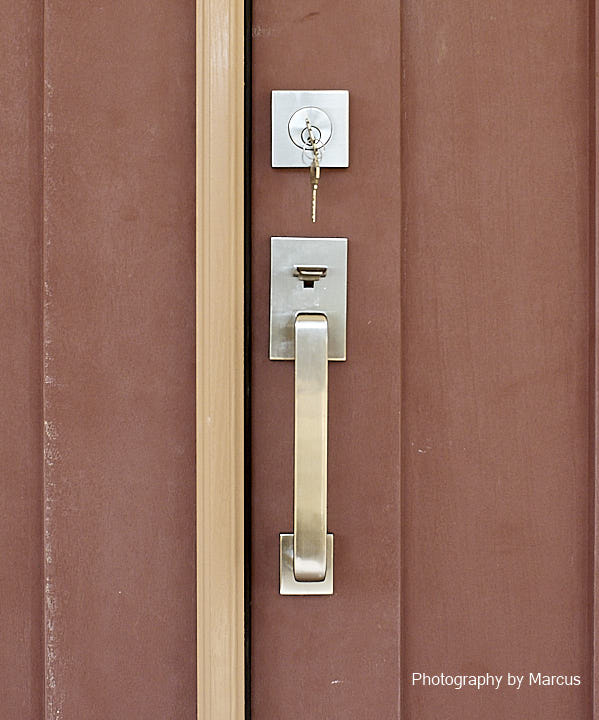
Front Door
Considering the visual impact of the front door, the choice of lockset was important but not too challenging. Vernon steered me to the Emtek line based on his prior experience. I found the Braden the most appealing with the Poseidon interior lever option.
Bathroom Hardware
I liked the quality and look of the towel bar, robe hook and TP holder that matched my main plumbing fixture choice (Pfister Iyla). The only remaining choice was a shower curtain rod for the guest bath. I settled on this curved item from Signature Hardware. I’d installed a double rod in this style for Marlene a few years ago and was impressed with how well-designed and solid it was. I started out looking for a straight rod because the shower stall is plenty wide, but found they were twice the price and show the mounting screws.

To finish the space, I picked up a nice fabric stall-size liner at Bed, Bath & Beyond and found a terrific organic cotton curtain in their online store.
My Hardware Installation Adventure
I’ve encountered so many sloppily installed bath fixtures that needed repair, I planned on doing the job myself. Vernon and I deliberately worked through locations for blocking during the framing. Prior to sheetrock installation, I went through the house to document the locations with photos and measurements. installing them proved a little tricky.
Despite this preparation, installing the hardware proved tricky. I found that even when I accurately located fittings on the locations that I’d documented with photos and measurements and hit wood with the pilot holes, the supplied screws weren’t consistently holding tight. Then I realized that I’d chosen 5/8″ wall board instead of the 1/2″ standard. When I went back with longer screws, everything was rock-solid.
I was equally deliberate with the shower curtain rod installation. Although the 36″ needed to be trimmed to fit the mounting plates, I was able to test fit the curtain on it to get the height right. Then I centered the mounting plates over the shower stall frame and drilled my first set of pilot holes on the east wall where there was a set of 2×4″ studs. To my surprise, the drill bit didn’t hit wood. I rechecked my notes, rapped on the wall, said a prayer and moved over 1/4″. That worked—on both ends. My first set of holes must have hit the narrow space between two studs.